How To Make An Envelope Pillow
Time to Show off Your Mini Quilt
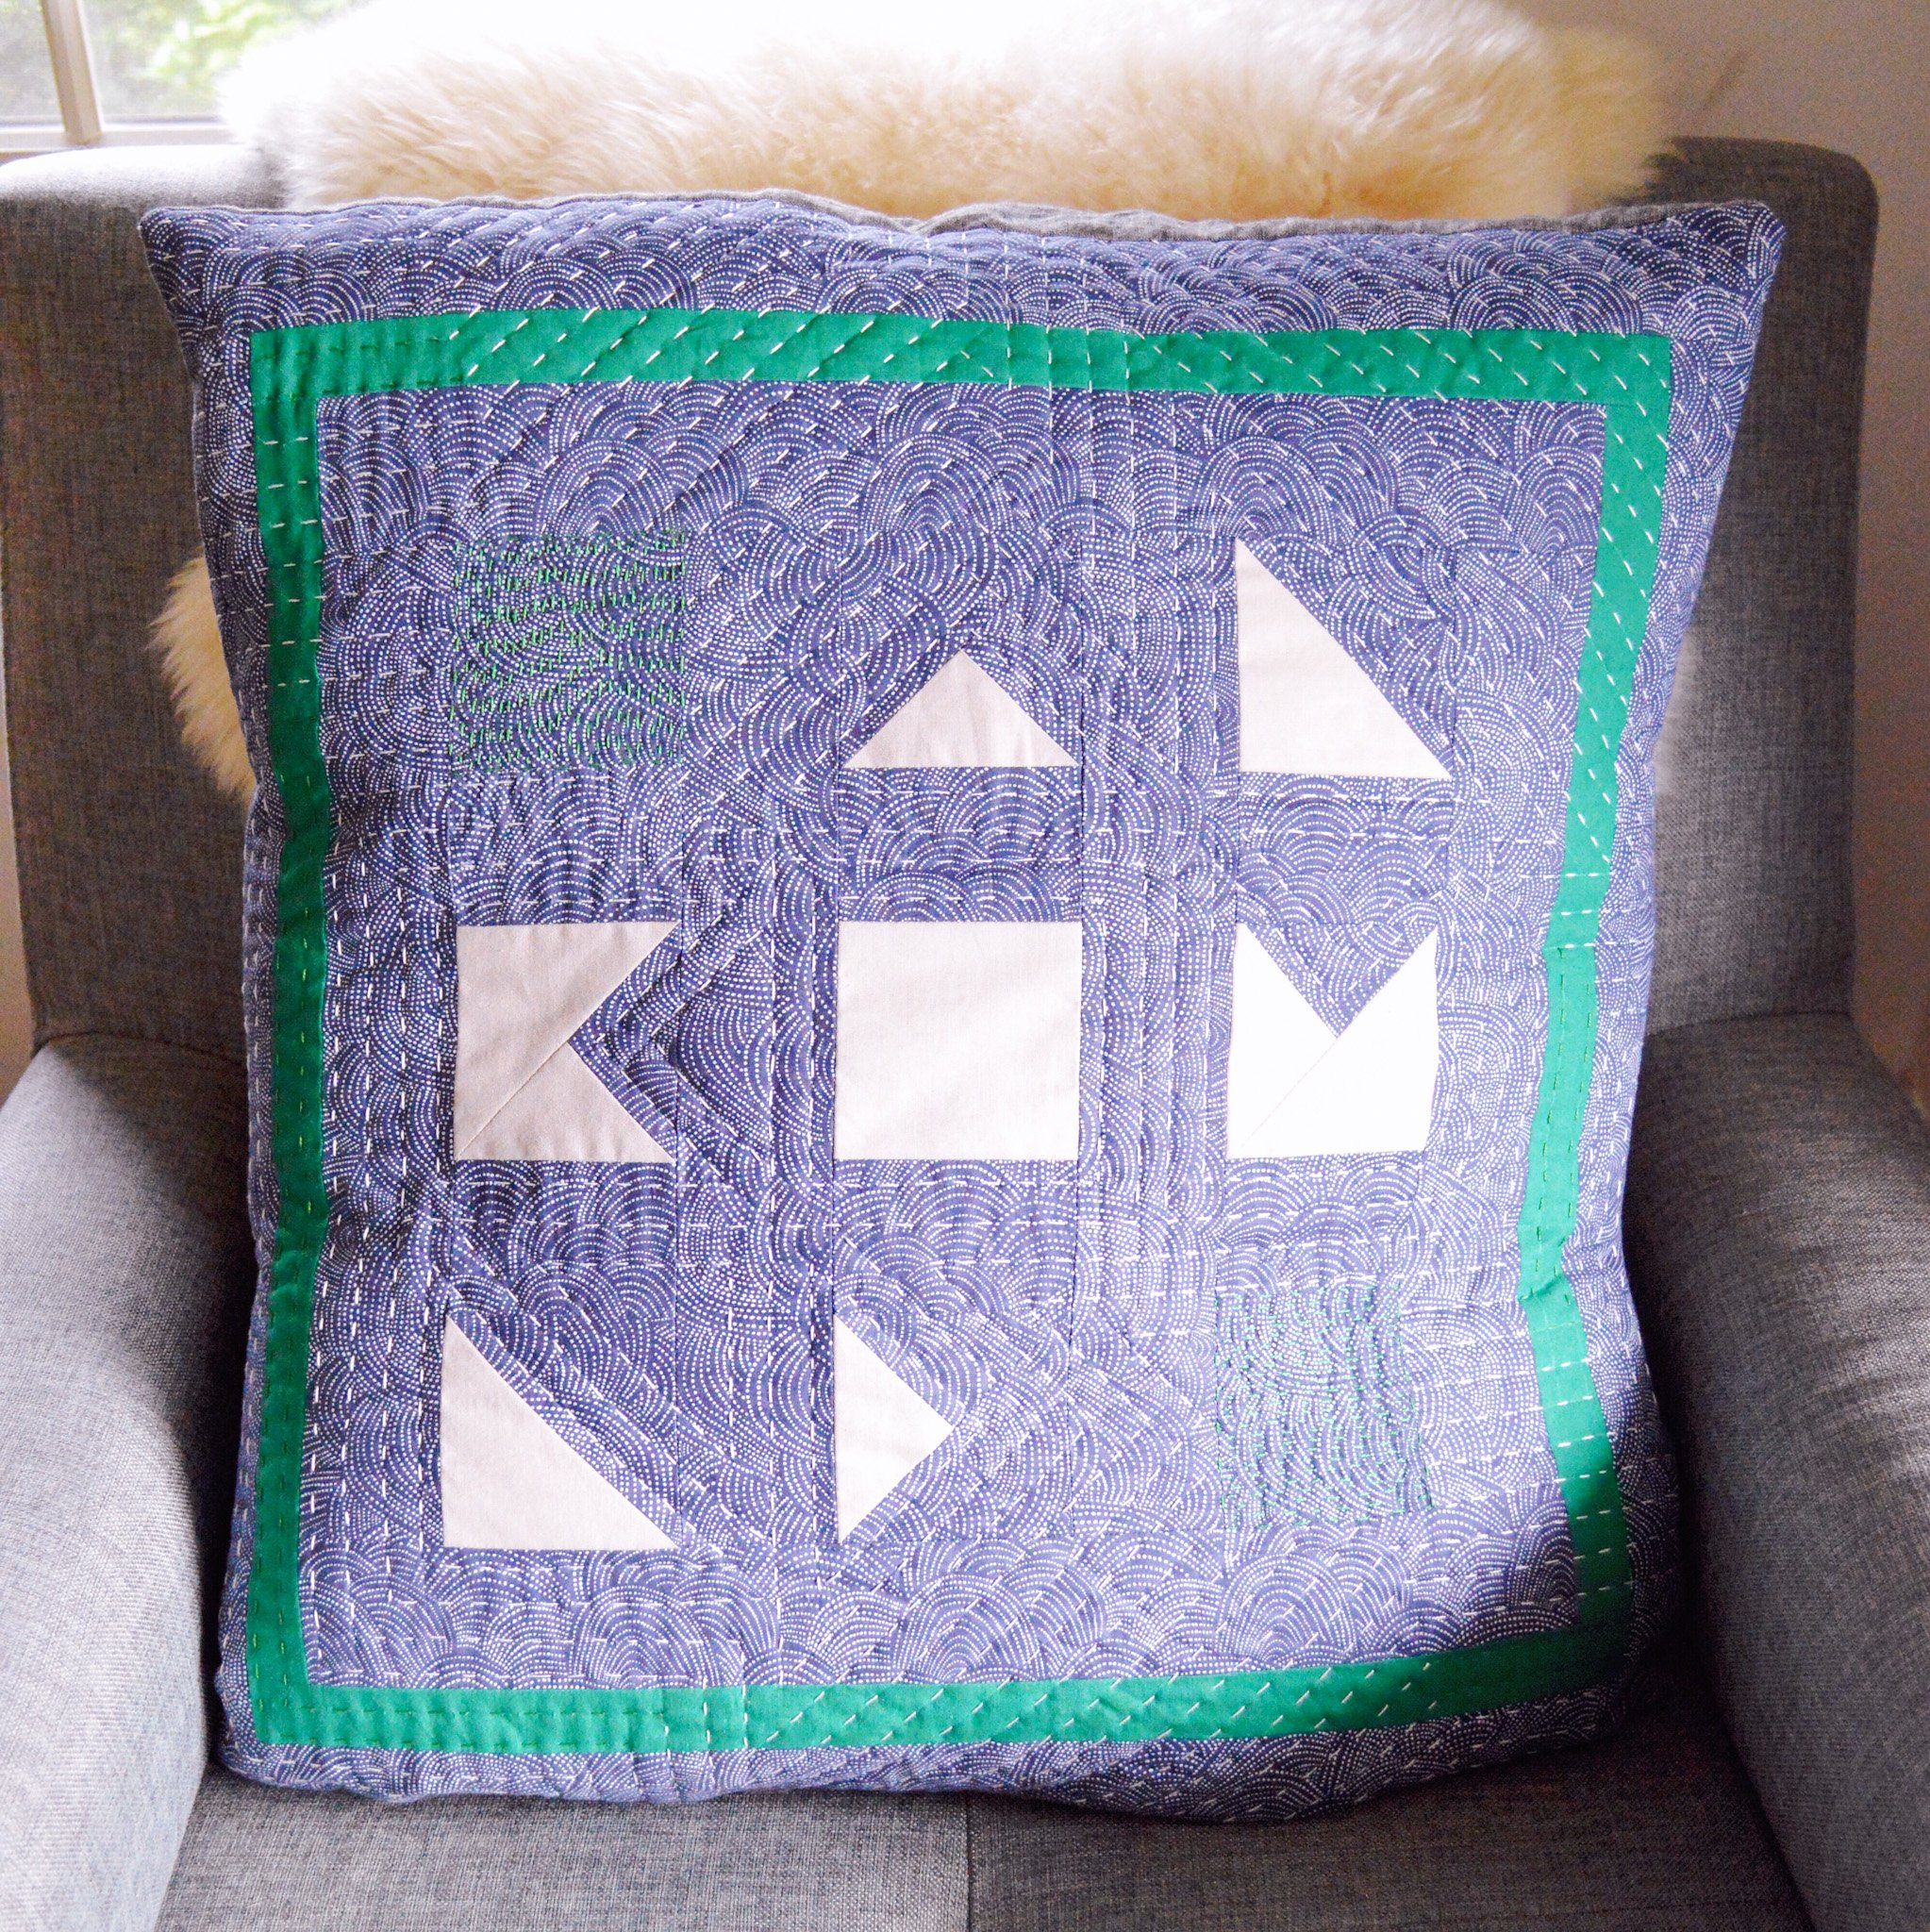
You’ve created a beautiful quilt top that’s the perfect size for a throw pillow. It’s been basted and quilted with care and you’re so close to the finish line. All you need to do is bind it up and it will be ready for display. But wait! How do you turn it into a pillow?
Don’t worry I’ve got you covered. Follow the steps below to turn any mini quilt into an envelope pillow. No zippers needed! This short envelope pillow tutorial is so simple you’ll want to make a quilted pillow for every seat in your home!
Before You Attach the Binding
It’s important to note that will not need binding on your quilt top if you’re turning it into a quilted throw pillow. So, after you’ve hand or machine quilted it, stop there, then follow the steps below.
Step 1: Cut Two Pieces of Fabric
Cut two pieces of fabric that are as wide as your quilt top and about two-thirds as long.
Step 2: Hem the Fabric Pieces
On one long side of each piece fold over (wrong sides together) and half an inch of fabric and press together a hem. Sew the hems in place with a quarter-inch seam allowance.
Step 3: Pin the First Piece to Your Quilt Top
Line up one piece with the top edge and corners of your quilt top, and right sides together, and pin in place. Make sure your hem is towards the bottom of your quilt top.
Step 4: Pin the Second Piece to Your Quilt Top
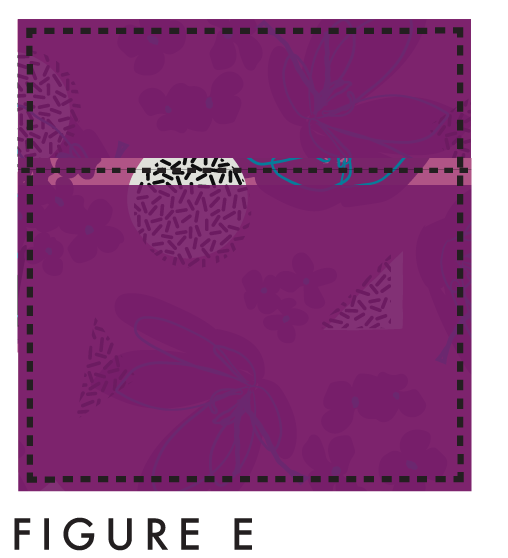
Line up the second piece with the bottom edge and corners for your quilt top. right sides together, and pin in place. Make sure the hem is towards the top of your quilt. There will be sections on the left and right sides of your quilt top where both pieces will overlap. remove and replace pins as needed.
Step 5: Sew Them All Together
Sew the pieces in place, with a quarter-inch seam allowance, by following the perimeter of your quilt top.
Step 6: Stuff It!
Turn the pillowcase right-side out, fill it with a pillow form, and place it in your favorite comfy spot.
Dream it
〰️
Quilt it
〰️
Dream it 〰️ Quilt it 〰️
Free Hand Quilting Course
Learn the basics of hand quilting at your own pace, on your own time.
This course gives you the freedom to pull on the thread of your creativity or find peace in the structure of the known. Tap into a creative and de-stressing outlet and carve out time to work on yourself. With mindfulness as a foundation, you’ll make space for a creatively therapeutic practice that supports you in processing the emotions of an often too-heavy and too-busy world.


